

Fuselage
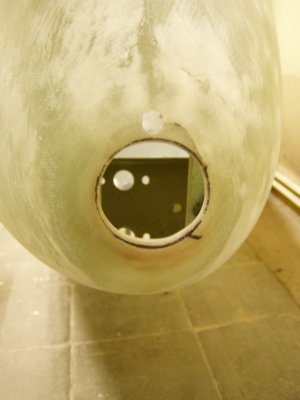
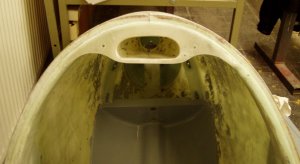
The problem child of this major overhaul: During griding all the paint - because of countless number of cracks in the surface - it was found there was not only one layer of paint. Not to mention the car-spattle. Overall a mass of 11.8 kilograms. In this picture the nose is ready house the clutch there ...
... and both frames for the clutch are glued in.
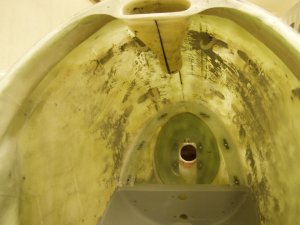
There the fuselage was broken whenever ...
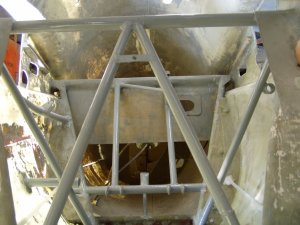
The painting of the steel pipe frame inside the fuselage was removed, the tubes checked for cracks and painted again - with two-component paint.
The ventilation is rebuild and repaired.
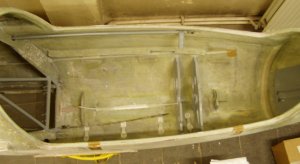
The steering-frame is now fixed - before is somewhat loose ;-) The retainer for the new panel is glued in.
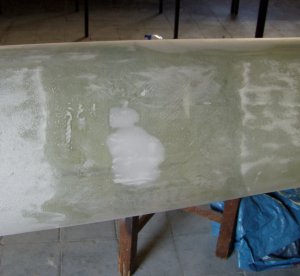
Here likewise (short before the tail) the fuselage was broken a time ago. Here after the re-repair - the repair before was not the best.
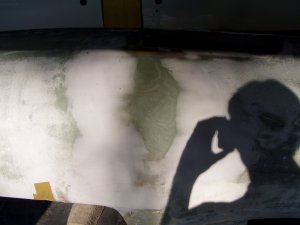
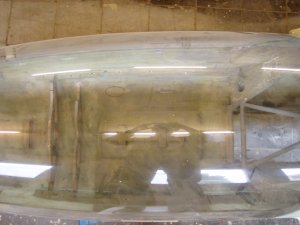
Thats the way the surface looks after removing the paint. There much filler is needed, before the car-painting can be applied.
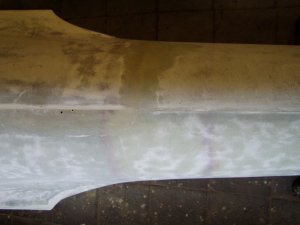
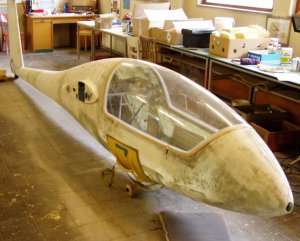
The canopy is on the fuselage again - before the canopy-frame was re-fitted. To reach this, the plexi-glas of the canopy was removed from the frame, the frame was new fitted and the canopy was glued again on it.
Now the primer can be applied. With the filler, waviness can be covered and the pin-wholes of the laminate are closed. Bigger "errors" in the surface contour were removed using micro-balloons and a closing layer of 80-type laminate.